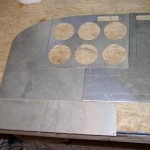
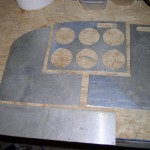
I recently came across some free .125 aluminum and decided to rebuild my Masonite instrument panel. Aluminum is fairly easy to work with using basic power tools. I cut out the shapes on a band saw and drilled the instrument cutouts with a hole saw. There are more holes to drill and I need to design some kind of support structure to mount the panels.
Archive for the ‘Flight Sim’ Category
Instrument panel rebuild
Monday, October 26th, 2009JoystickButtonTest utility
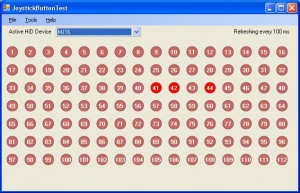
Wednesday, October 21st, 2009The joystick card I am using for my flight simulator has a lot of buttons (112). By default the Windows control panel for game controllers only displays the status of 32 buttons. I wanted a way to see the status of all the buttons so I wrote this little utility called JoystickButtonTest. What an original name!
A zip file with the executable and dll as well as links to the source code are below. This is released as open source with no guarantees it will work on your computer. It does require the .Net version 3.5 libraries and a recent version of DirectX.
Program:
JoystickButtonTest.zip
The JoystickInterface.dll is based on code by M Harris found here: http://www.codeproject.com/KB/directx/joystick.aspx
MJoy16 key matrix board
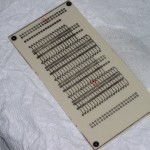
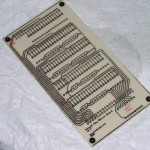
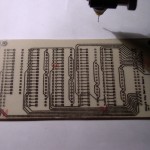
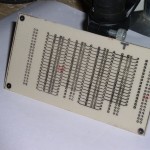
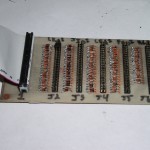
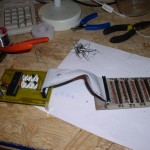
Wednesday, October 14th, 2009I built the MJoy16 controller quite some time ago and finally got around to making the key matrix board that allows easy input hookup. This board is double sided and a lot more tedious to drill and populate so I had been putting it off. I once again used the toner transfer method with good results.
It took about 10 minutes to get the two papers aligned properly and then it was pretty short work to etch. A lot of soldering and drilling later and here it is:
Magneto start switch
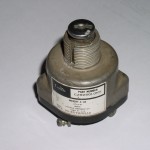
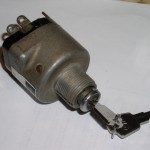
Friday, October 9th, 2009I had built my own replica start switch for my cockpit project but was not too happy with the results. While browsing eBay the other day I happened upon a used Cessna switch (part no C292501-0101) for $5. Even though it had no key this was just too good of a deal to pass up. Shipping was only $5, so for $10 I had a real switch.
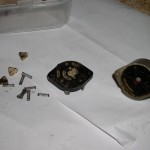
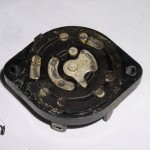
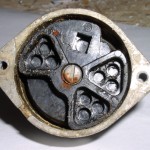
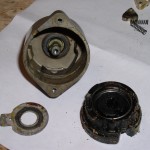
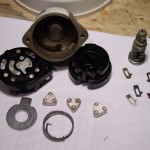
Last night I tore the switch down, cleaned it up and re-keyed the lock to fit the key from my scratch built switch. Apparently a C&K switch key, although shorter than the real thing, fits just fine. It is kind of hard to see in the pictures, but the switch was really dirty and the anti-oxidizer/grease inside had mostly solidified.
I used rubbing alcohol, some cotton swabs and an old toothbrush to clean everything up. The contacts were cleaned up with a bit of fine sandpaper. Now it looks almost as good as new.
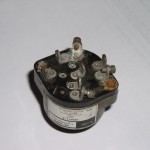
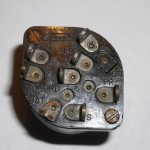
Here are some pictures of the terminals.
They are labelled: R, L, LR, PR, GRD, BAT, and S. I am still in the process of documenting how the contacts work. It looks like I will need some kind of circuit to translate the various positions into some kind of meaningful input to FSX.
